How to Pack a Hiking Backpack
A Complete Guide for a Comfortable, Balanced Trip
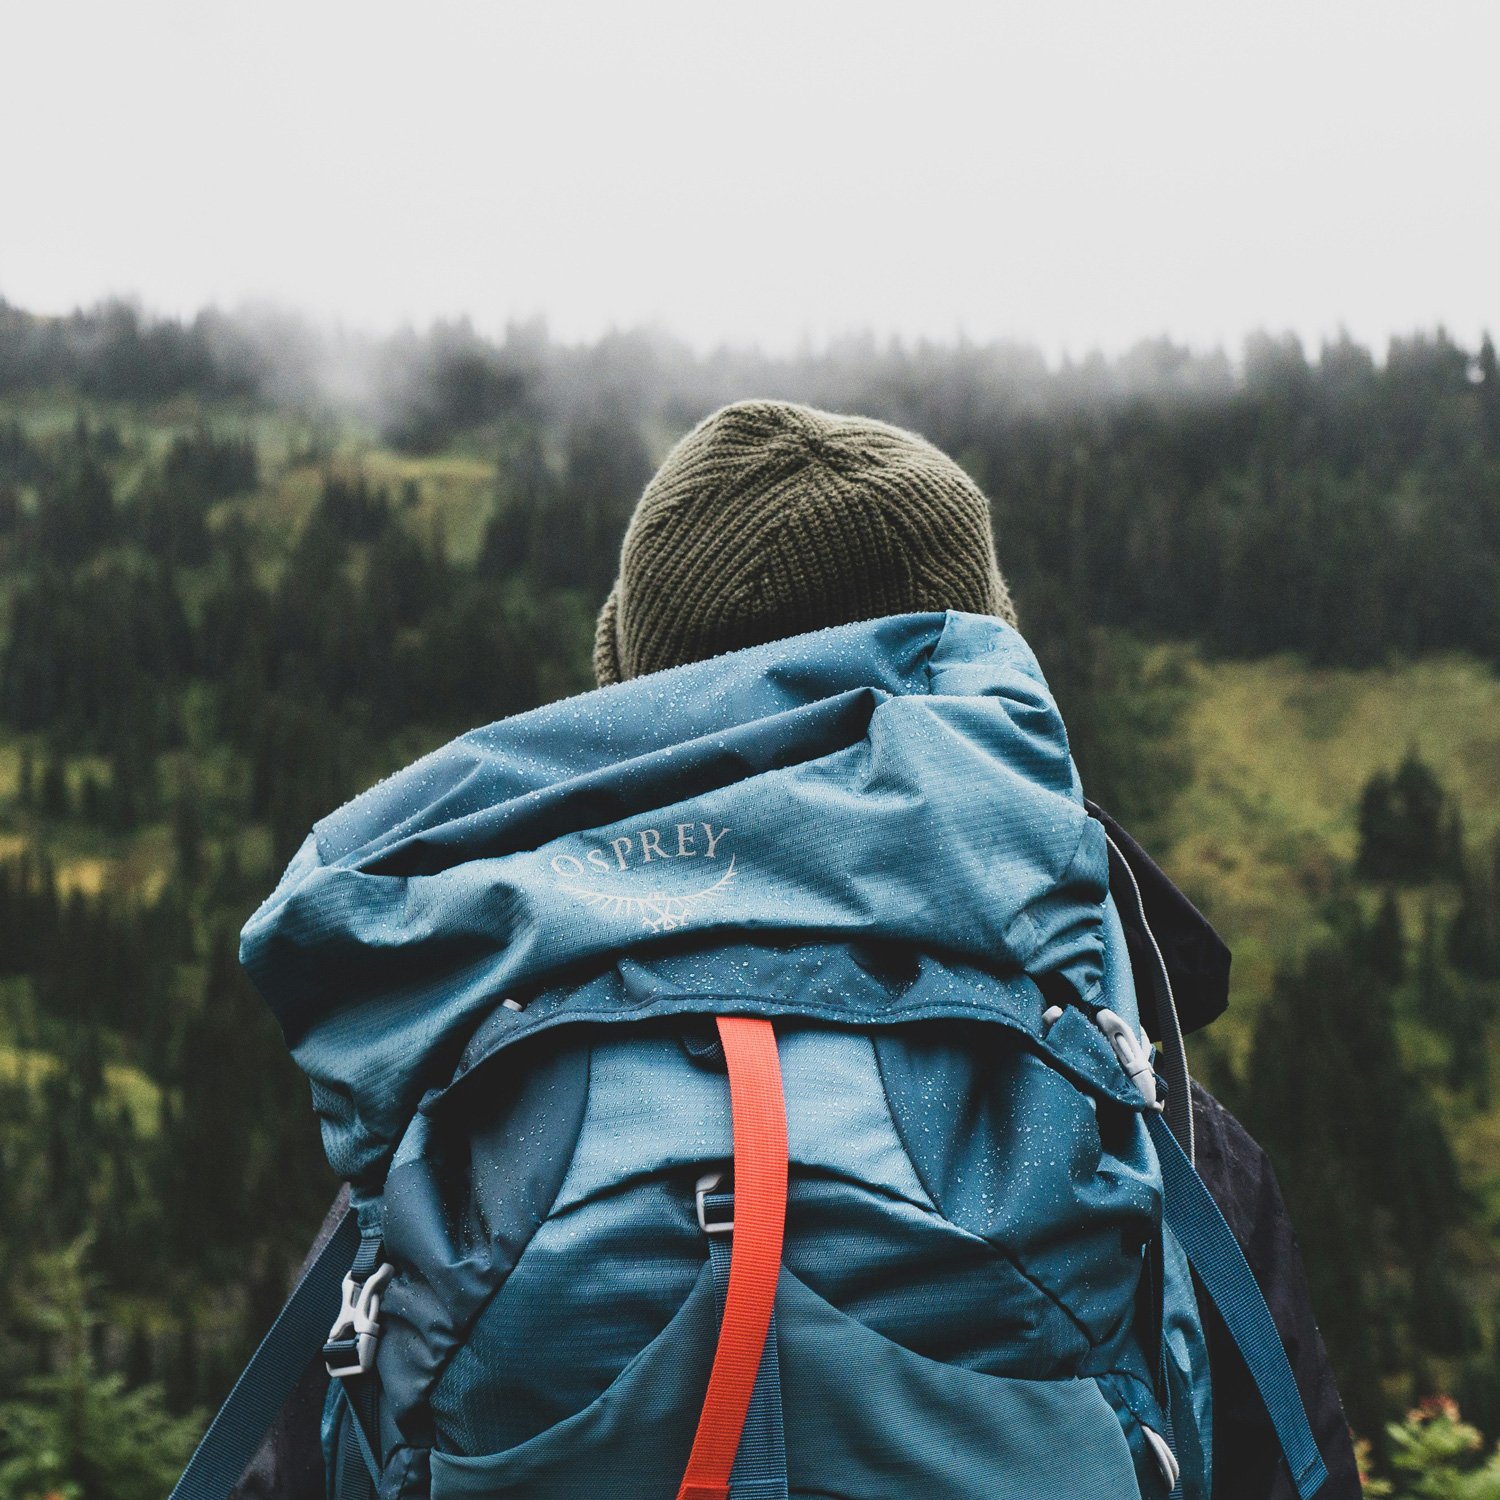
Learning how to pack a hiking backpack is one of the easiest ways to make your time on the trail more enjoyable. A well-packed bag keeps weight balanced, essentials accessible, and your body far less fatigued. Whether you’re preparing for a short day hike or gearing up for a multi-day adventure, a thoughtful packing strategy makes a huge difference.
This guide walks you through how to pack a hiking backpack step-by-step—what goes where, why it matters, and how to make your load feel lighter.
Why Packing Your Backpack Properly Matters
Packing isn’t just about getting everything to fit. The way you organize your gear affects your balance, comfort, and energy levels throughout the day. When your pack is arranged intentionally, you move more naturally, reduce strain on your shoulders and lower back, and avoid the constant reshuffling that happens with a poorly organized load. In short, a well-packed backpack helps you hike farther with less effort.
Start With the Right Gear (and Lay It All Out)
Before anything goes in the pack, lay out all your gear so you can group things by weight and purpose. Heavy items like food, a stove, or a tent body need different placement than lighter clothing layers or quick-access items like snacks and a rain jacket. Seeing everything at once helps you plan your packing strategy rather than stuffing items in wherever there’s space.
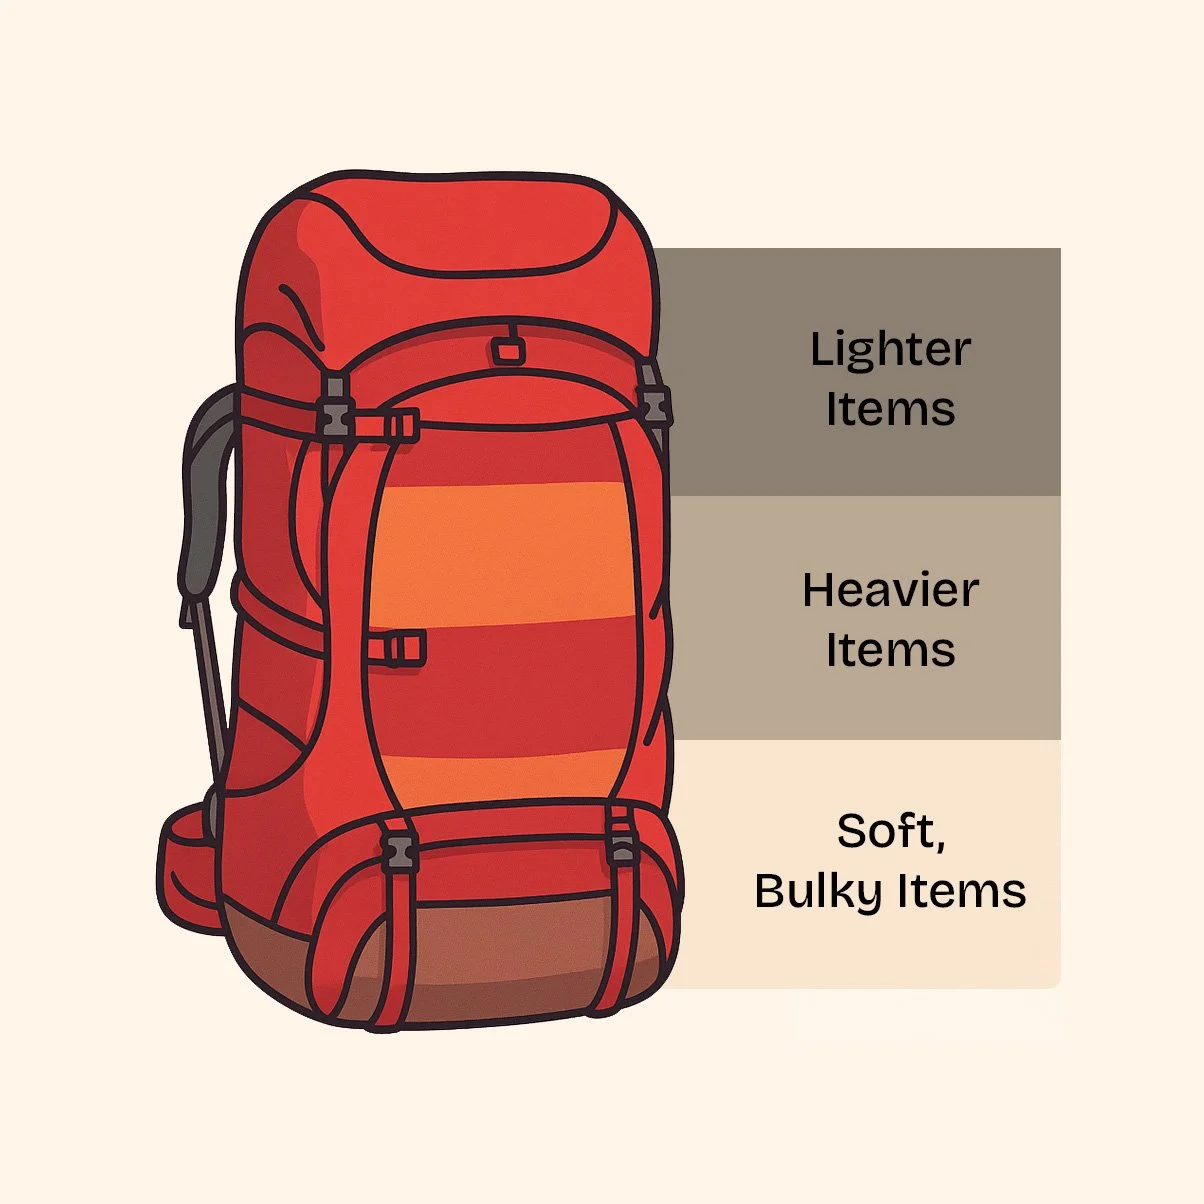
How to Pack a Hiking Backpack: Zone-by-Zone
1. Bottom of the Pack
The lower compartment is best for soft, bulky items you won’t need until camp—your sleeping bag, sleeping pad, or camp clothes. These pieces create a cushioned base and help stabilize the pack from below.
2. Middle of the Pack
This is the core of learning how to pack a hiking backpack. The heaviest items should sit close to your back and centered vertically. This is where your food bag or bear canister, tent body, and stove belong.
It’s also the best place to store stove fuel, but with a simple rule:
Keep your fuel below your food.
Fuel bottles and canisters are durable, yet placing them beneath your meals adds an extra margin of safety. If anything were ever to leak, it moves downward rather than into the food you depend on for energy.
When the middle of your pack is organized with this kind of intention—heavy items centered, fuel safely positioned, and everything tightly packed—the entire backpack feels more predictable and easier to carry.
3. Top of the Pack
Light to medium items that you may want during the day go in the upper part of the main compartment—things like an extra layer, toiletries, or your first-aid kit. Avoid placing heavy objects here, as it makes the pack feel top-heavy and less predictable on uneven terrain.
4. Exterior Pockets
Your side, hipbelt, and front pockets are ideal for items you’ll reach for while moving. Water bottles, snacks, a map, your phone, a compact first-aid item, or a quick-access rain layer all live comfortably here. Anything you expect to grab without stopping should be placed where you can reach it without opening the main compartment.
5. Exterior Straps and Loops
Backpacks offer plenty of options for attaching extra gear, but that doesn’t mean everything belongs outside. Reserve exterior lash points for items that truly don’t fit inside—trekking poles, a foam sleeping pad, or damp gear that needs airflow. Keeping most of your equipment inside gives you a cleaner, more stable pack that won’t snag on vegetation.
Dialing In Fit and Stability
After everything is packed, tighten the compression straps along the sides. This prevents your load from shifting as you hike and helps the pack feel like a single, secure unit. A stable pack reduces shoulder fatigue and makes long miles feel easier.
Certain safety essentials—like your headlamp, water purification tools, navigation, and a small emergency kit—should always be accessible regardless of how you pack. Think of these as non-negotiable quick-access items.
Pro Tips to Improve Your Packing Strategy
Keeping your pack balanced side-to-side is just as important as balancing it from top to bottom. If one side carries noticeably more weight, you’ll feel it in your hips and shoulders almost immediately. Distribute items evenly so the pack tracks straight and feels natural on your back.
It also helps to know the right way to lift a loaded pack. Rather than grabbing a shoulder strap and swinging it up—an easy way to strain your back or damage the harness—lift the pack by the haul loop, rest it on your thigh, then slide your arms into the straps before standing and adjusting the fit. This technique is especially useful when your pack is full for a longer trip.
Finally, take a little time at home to experiment. There’s no single perfect layout for everyone, and your ideal setup may change depending on your gear. Try different packing arrangements, walk around your house or neighborhood, and note how the weight feels. Small adjustments here can make a big difference on the trail.
Bringing It All Together
Once you understand how to pack a hiking backpack with balance, accessibility, and stability in mind, your entire hiking experience changes. Your gear becomes easier to manage, your body works less to stay upright, and the trail feels smoother and more enjoyable. With a little practice, packing becomes second nature—and your adventures become even better because of it.